

H1: Instructions for using the shrink sleeve
2025-10-18
1. Product selection and testing
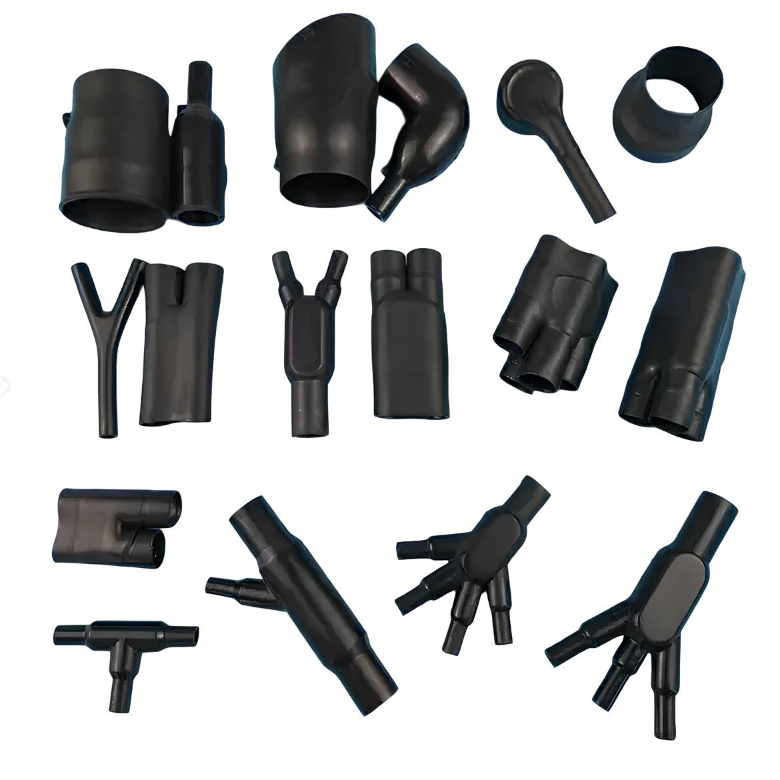
Select the model and specifications of shrink gloves according to your requirements.
Check the appearance: the surface should be smooth and free of defects, the holes should not have gaps, and the size should be appropriate.
2. Pre-treatment
Confirm the installation location, polish and clean it.
If you are using a heat shrink cap without first applying adhesive, wrap the installation area with 2-3 layers of heat shrink tape.
3. Heating and shrinkage
Place the heat shrink cap over the installation location.
Use the heat gun to start heating from the large boot hole, then move the heat gun in a 360° spiral to the small heat hole.
Continue heating until the small hole shrinks completely and the inner hot glue melts and flows out.
4. Cooling
Allow the cable to cool naturally to room temperature before moving it.
If it needs to be moved quickly, wipe it with a damp cloth to cool it to room temperature.
5. Quality check
Both ends of the shrink wrap should be wrapped tightly around the application area, with hot melt adhesive dripping from the ends.
There should be no gaps, bubbles, cracks or signs of aging.